Showing posts with label basing. Show all posts

Friday, September 9, 2011

25mm snow bases tutorial pt. 1

When working with 25mm bases, there is not much to do with them, considering their small size, and the way most models connect to them, effectively taking 30% of the surface, or even more.

For this squad of Space Wolves I decided to make simple rough terrain covered with snow.

The first and most important part is to make raised for the minis, so they dont look like they are sinking into the ground.

I start it off with the bases, and a strip of card cut from the super glue packaging (recycle as much as you can is my moto!)


To position it all i Use little blobs of blu-tack on the model's feet


Stick the card squares that more or less match the size of model feet


And glue it to the base.


Remove the model, remove the blu-tack, and you have your base with the raiser.


Finally just trim the raiser to fit the base


Here are all of the bases with their raisers:


One of the reasons I take these photos, is to easily match the model to its base once the bases are done :)


The texture on the bases is done with some simple textured craft paint. I use the black one since its easily drybrushed to lighter shade, and black out of the box is a very good to simulate paved roads:


And here are some bases with the texture applied. Now just to wait for the texture to dry, and I can go on painting and applying snow :)

Thursday, August 25, 2011

Water effects get me every time

Actually the stuff gets all over me every time, and its not that easy to get rid of :)

And to cut the rant short, here are the photos:


Saturday, August 20, 2011

Milliput basing explained Pt. 4

And almost done.

All that is left now is to add the water effect, and for that I need a slightly different state of mind (and I should probably do it when I'm completely sober, unlike right now :))

All bases are painted, watery areas are painted green, and they already look pretty good :)


I also decided to take care of the rims at this stage, and not wait for actual model placement. Its a lot easier to paint them neatly when there is no grass or leaves on the base. Adding gold later for front arc is a lot easier when the brown is already laid down.


Milliput basing explained Pt. 3

Time to add some tree trunks to the whole shebang. These are the same twigs used in the previous tutorial.

Actually these bases are made for the same army, so they should remain visually compatible.


Once all the glue is dry (and i mean completely wait for 10 hours at least dry) the bases can be primed. This time around I'm going with black gesso instead of just drowning the base in brown paint, since I have the milliput to think about, and I don't want to destroy all the nice patterning on it with tons of paint.
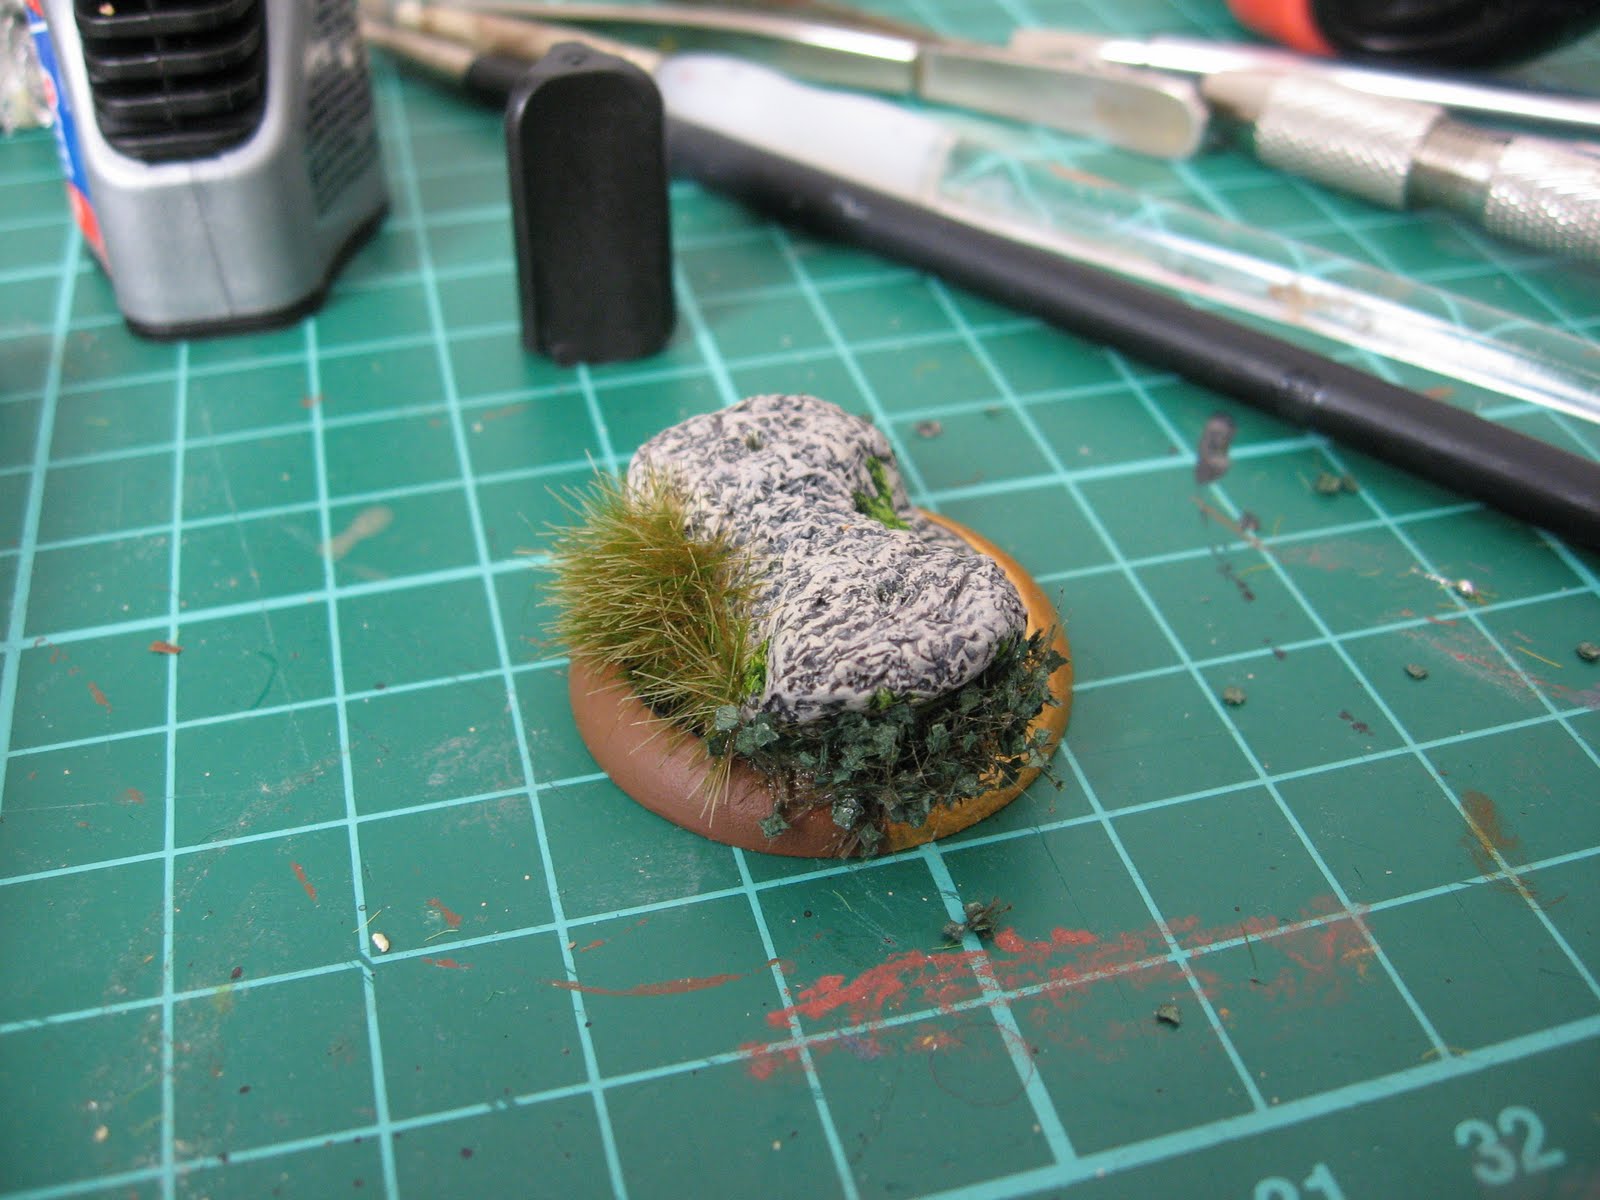

After this it will be painting time :)

Milliput basing explained Pt. 2

A very important thing when customizing the bases is to close any slots (especially on 30mm and 40mm bases from Privateer Press and similar). All those open slots mean that a lot of glue will get all over your hands/desk/everything else.


Once that is taken care of, It was time to add some ballast to the bases.


Followed by a little sprinkle of sand


One very special base got some more milliput, and it moved completely from the concept I had in mind originally (which doesn't matter since it will become way cooler than originally imagined)


And now it's time for the most exciting part of making bases: waiting for the glue to dry :)

Friday, August 19, 2011

Milliput basing explained Pt. 1

Here is how the whole idea of using milliput for basing looks applied

Here are the models with their respective bases:


For each model I approximated where the feet will be connected with the base, placed a blob of milliput, and textured it to resemble rock:


This is how it looks up close:


And here is the secred tool used to apply the natural texture to milliput:


There is nothing better than crumpled up aluminum foil for random pattern texturing :)

I will go on a milliput rant again, but the more I use this stuff, the more I like it. On these bases I used standard grade milliput that is a bit rough for fine detail work, but lets face it, bases don't need fine detail work. Bases need rocks! Milliput cures rock hard, and is very easily drilled, which makes it perfect for basing :)

Basing tip or how not to destroy too many drill bits

One of the issue I face with the bases i make using ballast and sand is that once my models are ready, and need to be joined with the base, I have to drill through sand and ballast to make holes for the brass pins I have attached to model legs.

The problem with this is that drilling through sand and rock is the best way to destroy those nice 1mm or 1.5mm drill bits.

There is a very simple solution for this problem though :)

Make little mounds of Milliput around where the feet of the model will connect with the base, press the mini on them to make light impressions, and let milliput dry before adding ballast and sand to the base.

The reason for using milliput is that it cures rock hard, and is a lot easier to drill through than green stuff.


When making impressions in milliput, make sure that either milliput or model feet are lubricated so they dont stick. I use petroleum jelly (Vaseline), but you can use anything that works for you as long as you are sure it can be easily washed off.

Monday, August 8, 2011

Forest rock base tutorial

Here is a step-by-step for my latest base that was created for Baldur the Stonecleaver

The base was sculpted from standard grade milliput. All texture was made with crumpled-up aluminum foil.


While milliput was still soft I pinned Baldur's feet, and inserted him into the base to mark his footing.

Once milliput was rock hard (I just gave it 24 hours) it was primed with black gesso


The gesso is not dry yet in this photos, so it looks pretty glossy :)

While gesso was drying, i mixed up four different shades of grey. Colors used were chaos black and codex grey (or lamp black and slate grey, or how ever you want to call them) in ratios 4:1 2:1 1:1 and 1:2


These shades were progressively drybrushed on the milliput rock


I gave the rock some time to dry, and mixed up some more paints, first one is pure slate grey, and then slate grey:titanium white (or codex grey/skull white) in ratios 2:1 1:1 and 1:2


All the new shades were progressively drubrushed as well (in the end i didnt use the lightest color)


The next step was ti give the whole rock a liberal wash of light sepia (ogryn flesh equivalent). I just used a home-made wash. Main reason for light sepia wash is that no real rock is monochrome and it just makes it look a lot better.


Last step was a drybrush of very pale brown color (or bleached bone)


Final touches were done with a mixture of green and yellow ink, Army Painter poison ivy, and Army Painter swamp tuft. The ink was used to accent grassy areas. The base was painted in calthan brown (like all the bases i have for this army) and the front arc was accented in glorious gold (vallejo one)


And here is the big man himself standing on his base


And for the very end here is the recipe for the home-made-wash I use. This recipe is floating around the interwebs, and I dont take any credit for it.

1. Mix distilled water and liquitex flow release in 10:1 ratio
2. Mix the previous concoction with liquitex mate medium in 1:1 ratio
3. Add waterproof acrylic ink to your liking. For 10ml of the mix I like to add 50 drops of ink.

To make stronger color, accent it with black ink (browns and reds only since it looks ugly with blues and greens)

If you liked this tutorial feel free to leave a comment :)


Saturday, August 6, 2011

Tharn Bloodweavers

I decided to take a different approach on basing my Hordes units.

I dont mind investing extra time in basing casters and warbeasts, but investing the same time into basing units is just too much time that can be spent on other projects :)

Here is my first Bloodweavers unit, all assembled, based, and ready for priming


Related Posts Plugin for WordPress, Blogger...